

Table of Contents
Exploring the Best Public IPTV Playlists
In today’s digital age, television has evolved beyond traditional cable and satellite services. Internet Protocol Television, or IPTV, is at the forefront of this change.
IPTV delivers TV content over the internet, offering flexibility and variety. Public IPTV playlists are a key part of this revolution.
These playlists provide access to a wide range of channels and content. They are often free, making them an attractive option for many.
Free IPTV services offer a cost-effective alternative to traditional TV. They cater to tech-savvy individuals and streaming enthusiasts alike.
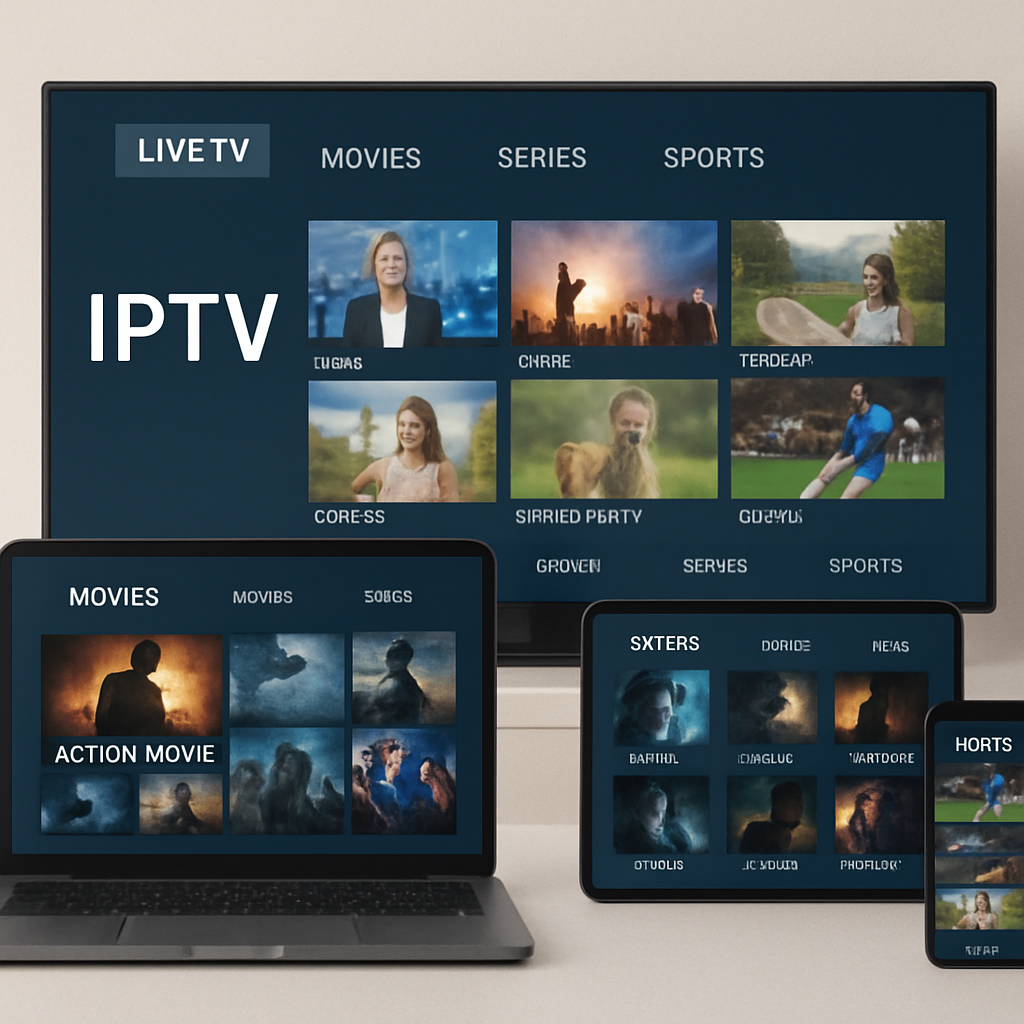
Public IPTV playlists can include live TV, movies, and sports. They are available in formats compatible with various apps and devices.
Accessing these playlists is simple, but users should be cautious. Some playlists may contain pirated content, raising legal concerns.
Despite potential risks, public IPTV playlists continue to grow in popularity. They offer a glimpse into the future of television.
In this article, we will explore the best public IPTV playlists available today.
What is IPTV? Understanding the Basics
IPTV stands for Internet Protocol Television.
It’s a way to watch television using the internet.
Unlike traditional broadcasting, it uses internet protocols to stream content. This modern technology offers flexibility to users.
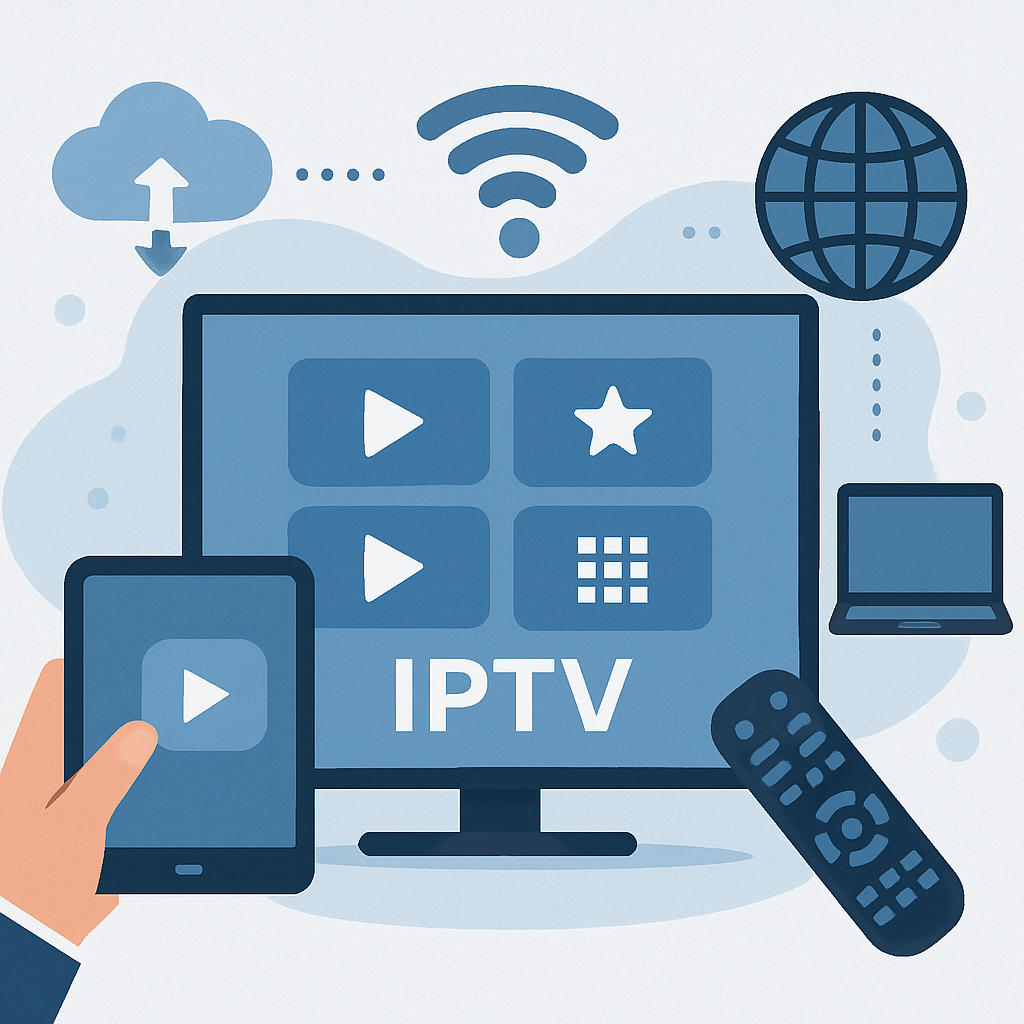
With IPTV, viewers access content at their convenience. It does not rely on scheduled broadcasts like cable or satellite. Instead, content is streamed directly to your chosen device.
There are several types of IPTV services available:
- Live IPTV: Streaming live channels similar to traditional TV.
- Video on Demand (VOD): Access to a library of videos and movies.
- Time-Shifted Media: Catch-up TV, allowing viewers to watch past broadcasts.
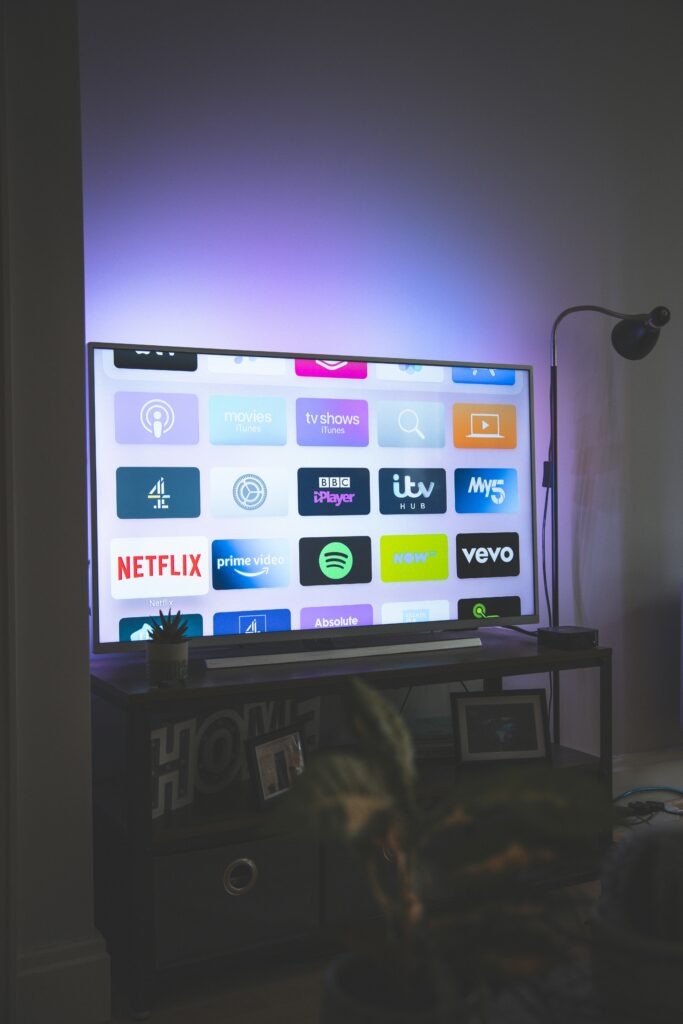
Devices compatible with IPTV include smart TVs, smartphones, tablets, and computers. This versatility is part of its appeal. Services often come with user-friendly apps, enhancing the viewing experience. However, a stable internet connection is crucial for smooth streaming.
The Rise of Free IPTV Services
The popularity of free IPTV services is on the rise. With escalating cable costs, many are seeking alternatives. Free IPTV offers a cost-effective solution.
Access to diverse content is a significant draw. Free IPTV services provide a mix of live TV, movies, and sports. This variety appeals to diverse audiences worldwide. While free, these services can offer decent quality.
Considerations when using free IPTV include:
- Content Variety: Diverse channels and genres.
- Streaming Quality: Variable based on the source.
- Access Limits: Fewer features compared to paid options.
Despite potential limitations, free IPTV remains attractive. Its affordability and wide access make it popular. Exploring these services opens doors to new viewing experiences.
What Are Public IPTV Playlists?
Public IPTV playlists are collections available for anyone to access. These playlists often include a variety of IPTV channels. Users can watch live TV, sports, or movies.
Most public IPTV playlists are in M3U format. This format is compatible with many IPTV apps. It ensures ease of use across different platforms. Users only need a compatible app to stream channels.
When exploring public IPTV playlists, consider these aspects:
- Channel Diversity: Broad range of available content.
- Access Simplicity: Quick setup with apps.
- Legality: Ensure content is legitimate.
These playlists bring diverse content to your fingertips. However, always verify the source’s credibility. Some lists might include unauthorized material. Keep this in mind while exploring public IPTV playlists.
How to Access and Use Public IPTV Playlists
Accessing public IPTV playlists is easier than you might think. First, you’ll need a reliable IPTV app. Popular apps include VLC, Kodi, and IPTV Smarters.
To start, download an IPTV app suitable for your device. These apps are usually available for smart TVs, smartphones, tablets, and computers. Ensure that your chosen app supports the M3U playlist format.
Once you have the app, you need to find a public IPTV playlist. Several websites and forums provide updated lists. Make sure to select a trusted source. Unverified sources may pose security risks.
Here’s a quick checklist for accessing IPTV playlists:
- Choose an IPTV app: Check compatibility with your device.
- Find a reliable source: Look for reputable online forums or websites.
- Load the playlist: Follow instructions specific to your app.
Using public IPTV playlists offers flexibility. You can customize the channels according to your preference. This personalized setup enhances the streaming experience.
When using free IPTV services, remember these steps for an optimized experience:
- Regularly update the app: Ensure continued access to channels.
- Check playlist updates: Keep your lists current.
- Monitor internet speed: Stability ensures uninterrupted streaming.
Utilizing these practices will maximize your streaming benefits. Exploring what public IPTV playlists have to offer can transform your viewing habits.
Top 10 Best Public IPTV Playlists in 2025
Public IPTV playlists have gained momentum over the years. They offer free and diverse content. Below, we’ve curated the top 10 playlists you can explore in 2025.
These playlists have been selected for variety, reliability, and user-friendliness. From movies to sports, each has something unique. They accommodate different tastes and regions.
Some playlists feature international channels. Others focus on niche content. Each offers a distinct streaming experience.
Here’s a quick list of the 2025 top picks:
- IPTV-org Playlist
- Free-TV/IPTV M3U
- Pluto TV
- Xumo TV
- Samsung TV Plus
- Distro TV
- The Roku Channel
- Local Now
- LG Channels
- Plex Live TV
These selections provide quality streaming without financial commitment. They simplify access to a wide range of channels. Choosing the right playlist can transform your viewing experience.
1. IPTV-org Playlist
The IPTV-org Playlist offers an extensive range of channels. It’s a user favorite for global content. This playlist provides:
- Variety: Offers international channels.
- Reliability: Regularly updated.
- Accessibility: Free access to numerous genres.

Explore channels from different continents with ease. It’s great for culturally diverse viewers.
2. Free-TV/IPTV M3U
Free-TV/IPTV M3U delivers solid performance. Known for its simplicity, this playlist is highly accessible. It includes:
- Ease of Use: User-friendly interface.
- Broad Scope: Covers multiple genres.
- Regular Updates: Ensures fresh content.

Enjoy a mix of entertainment from sports to documentaries.
3. Pluto TV

Pluto TV provides an impressive range of live TV and on-demand. Its offerings make it one of the best free IPTV services. Key features include:
- Live TV Channels: Covers news, sports, and more.
- On-Demand Content: Access to series and films.
- Seamless Streaming: Smooth, uninterrupted serviceJoin millions worldwide in exploring their diverse library.
4. Xumo TV

Xumo TV delights users with its expanding collection. It’s an excellent choice for diverse media appetite. Highlights:
- Free Access: Entirely ad-supported, no subscriptions.
- Variety: Over 200 channels.
- Ease of Use: Simple interface.
Whether it’s music or classic films, Xumo has it all.
5. Samsung TV Plus
Samsung TV Plus is well-integrated with Samsung devices. It’s a default app on Samsung smart TVs offering:
- Exclusive Content: Made for Samsung users.
- Extensive Channels: More than 100 channels.
- Cost-Free: Enjoy content without fees.
Samsung device users access rich, exclusive content easily.
6. Distro TV
Distro TV shines for its unique channel offerings. It emphasizes niche and independent content, providing:
- Diverse Selection: Independent films and shows.
- Free Streaming: No subscriptions, ad-supported.
- Multicultural Channels: Global outreach.

Distro TV supports unique voices and fresh perspectives.
7. The Roku Channel
The Roku Channel delivers family-friendly entertainment. It’s beneficial for Roku device users, offering:
- Rich Content: Family movies and kids’ shows.
- Easy Setup: Pre-installed on Roku devices.
- Variety: Includes sports and news.

Roku customers enjoy streamlined and broad content access.
8. Local Now
Local Now keeps you updated with local content. Known for its regional focus, it offers:
- Local Channels: News and weather updates.
- On-Demand Options: Regional documentaries.
- Personalized Content: Based on location.

Stay connected with regional happenings and enjoy localized entertainment.
9. LG Channels
LG Channels are built specifically for LG smart TVs. It provides integrated content at no cost:
- Dynamic Content: Tailored for LG users.
- Direct Access: Built-in app for convenience.
- No Cost: Ad-funded streaming.

LG smart TV owners find it a seamless content solution.
10. Plex Live TV
Plex Live TV excels with its customizable options. It offers live TV alongside personal content management:
- Personal Library: Organize your own videos.
- Live TV: Stream live channels.
- User-Friendly: Intuitive interface.
For those who love organization with their entertainment, Plex is perfect.
How to Choose the Right IPTV Playlist for You
Selecting the right IPTV playlist can transform your viewing pleasure. Understanding your preferences and requirements is vital. This choice ensures an enjoyable experience.
Consider what genres captivate you most. Whether it’s sports, news, or films, finding the right focus is essential. A playlist tailor-fit to your taste will maximize enjoyment.
Evaluate device compatibility. Some playlists perform best on smart TVs, while others excel on mobile platforms. Ensure that your chosen playlist works seamlessly with your preferred gadget.
Don’t overlook content updates and reliability. Frequent updates ensure access to the latest channels and shows. Consistent performance guarantees a smooth, hassle-free viewing journey.
Here’s a quick checklist to guide your choice:
- Content Preferences: Choose genres you love.
- Device Compatibility: Ensure it works on your gadgets.
- Update Frequency: Opt for regularly updated playlists.
- User Reviews: Research feedback from other users.
Legal and Security Considerations for IPTV Users
Navigating legal and security considerations is crucial when using IPTV services. With some playlists offering pirated content, awareness and caution are necessary. Violations can lead to legal issues.
Security is equally paramount. Reliable antivirus software protects against potential threats when downloading IPTV files. Keeping your data safe should be a top priority.
It’s essential to verify the legality of the playlists you use. Some regions have specific IPTV regulations. Users should research and comply with their local laws to avoid problems.
Here’s a checklist to ensure a secure and legal IPTV experience:
- Verify Legality: Research regional laws and compliant playlists.
- Secure Downloads: Use antivirus software.
- Trusted Sources: Opt for reputable IPTV providers.
Tips for Getting the Most Out of Free IPTV Services
Maximizing your experience with free IPTV services can be straightforward with a few strategies. Prioritize a stable internet connection to enjoy uninterrupted streaming and high-quality content. This ensures you view content without buffering.
Explore different playlists to discover a range of channels and genres. This exploration enriches your viewing options. Experimenting with several playlists expands your content library significantly.
Consider joining online forums and communities where IPTV enthusiasts share tips and playlists. Staying updated with the latest playlists and reviews can enhance your viewing experience. Here’s a quick checklist to help you get started:
- Ensure a strong internet connection.
- Test various playlists for diversity.
- Engage with IPTV forums for new insights.
Frequently Asked Questions About Public IPTV Playlists
Public IPTV playlists often raise curiosity and questions. Many wonder about their legality, especially when these services are free. It’s essential to verify that playlists come from legitimate sources to ensure compliance with local laws.
Another common question is about device compatibility. Most public IPTV playlists work on smart TVs, tablets, and PCs. Checking the format is crucial for smooth operation.
Quality of stream is also a big concern. Free IPTV services might not always provide the highest quality. But many playlists offer high-definition streams, depending on the source. To clear up any uncertainty, consider these common questions:
- Are all public IPTV playlists legal?
- Can I use these on any device?
- Will I experience buffering?
Conclusion: The Future of Public IPTV Playlists
The future of public IPTV playlists is promising and dynamic. As technology advances, these playlists will likely continue to gain popularity. Their convenience and cost-effectiveness drive their growth, making them appealing to a wide audience.
With ongoing improvements in streaming technology, quality and accessibility are set to enhance further. Users can expect more customized and user-friendly playlists. This evolution will keep public IPTV a viable option for many.
However, staying informed about legalities and security remains vital. Understanding usage rights ensures a safe and enjoyable viewing experience. As public interest grows, so will the available content, making this an exciting time for IPTV enthusiasts.